 Pin
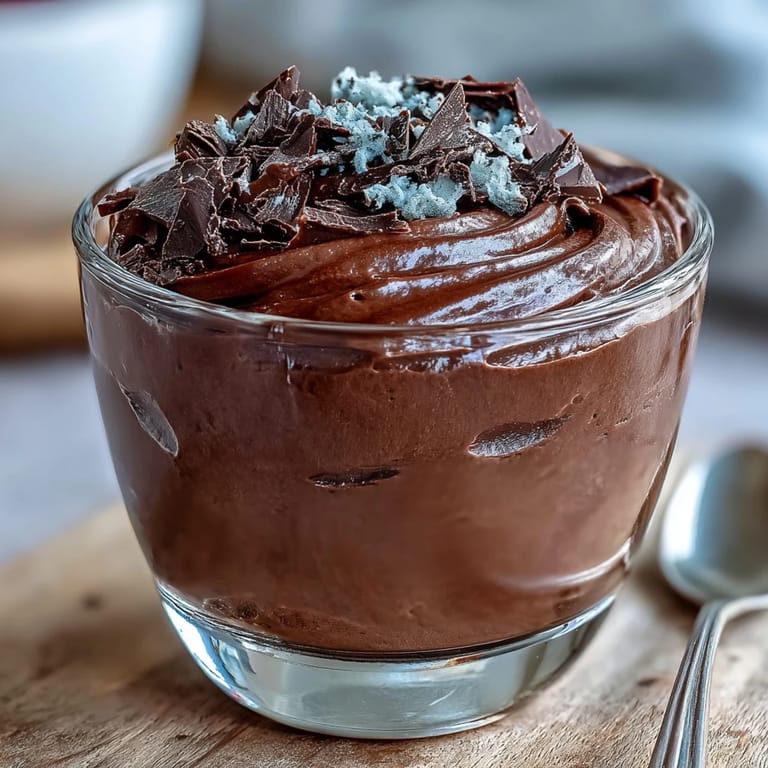
Pin Chocolate mousse always conjures up images of fancy dinners, but this version started as a late-night kitchen experiment after a workout left me craving something sweet. The cottage cheese caught my eye in the fridge, and the next thing I knew, I was blending up chocolate, not entirely sure if the result would be silky or simply odd. The hum of the blender mixed with a sweet cocoa aroma made me feel like a dessert wizard. When I dipped in a spoon, the creamy texture was the first surprise—light yet luscious, with a quiet tang from the cheese. The real magic? That moment when you realize this mousse is as nourishing as it is decadent.
Mornings after a long run have a particular energy, and one Tuesday, I made this mousse before breakfast just to see if chocolate runs and sweaty sneakers really could go together. The mousse chilled while I cleaned up, and as I spooned it out on the balcony, the fresh air made every bite taste brighter. My sister dropped by unannounced, and the look on her face when I revealed the ingredient list is now part of our running joke. She asked for the recipe—after her second helping. That kind of endorsement just sticks.
Ingredients
- Cottage cheese: Smoothness is everything here, so blend it until completely creamy—full-fat makes it richer, but low-fat works great too.
- Milk: Just enough to loosen the mousse—plant-based options work if you're dairy-free, but taste them first for sweetness.
- Unsweetened cocoa powder: Go for a rich, high-quality cocoa for deep chocolatey flavor—don't be shy if you want it extra bold.
- Dark chocolate chips (melted): The melted chocolate brings silkiness and depth, so warm them gently and let cool just a touch before blending.
- Maple syrup or honey: Your sweetening style—start with less, taste, and add more as your mood dictates.
- Vanilla extract: Rounds out the chocolate and enhances the creamy cottage cheese—real extract brings out the best flavor.
- Fresh berries, shaved dark chocolate, whipped cream (optional): These toppings turn every serving into a little celebration—let the fruit add brightness, or go full chocolate mode.
Tired of Takeout? 🥡
Get 10 meals you can make faster than delivery arrives. Seriously.
One email. No spam. Unsubscribe anytime.
Instructions
- Get everything ready:
- Measure out all your ingredients and let the melted chocolate cool briefly—it should be smooth but not scorching hot.
- Build the base:
- Add cottage cheese, milk, cocoa powder, melted chocolate, maple syrup or honey, and vanilla to your blender.
- Blend to perfection:
- Blend on high, pausing to scrape down the sides, until you have a mousse that's so creamy it almost pours.
- Taste and tweak:
- Give it a quick taste—add another squeeze of honey or splash of milk if you want it sweeter or lighter.
- Chill and serve:
- Spoon the mousse into glasses or bowls and refrigerate for at least 30 minutes if you want a firmer, scoopable texture.
- Top and enjoy:
- Finish with a handful of berries, a dusting of shaved chocolate, or a swoosh of whipped cream—then savor every spoonful.
 Pin
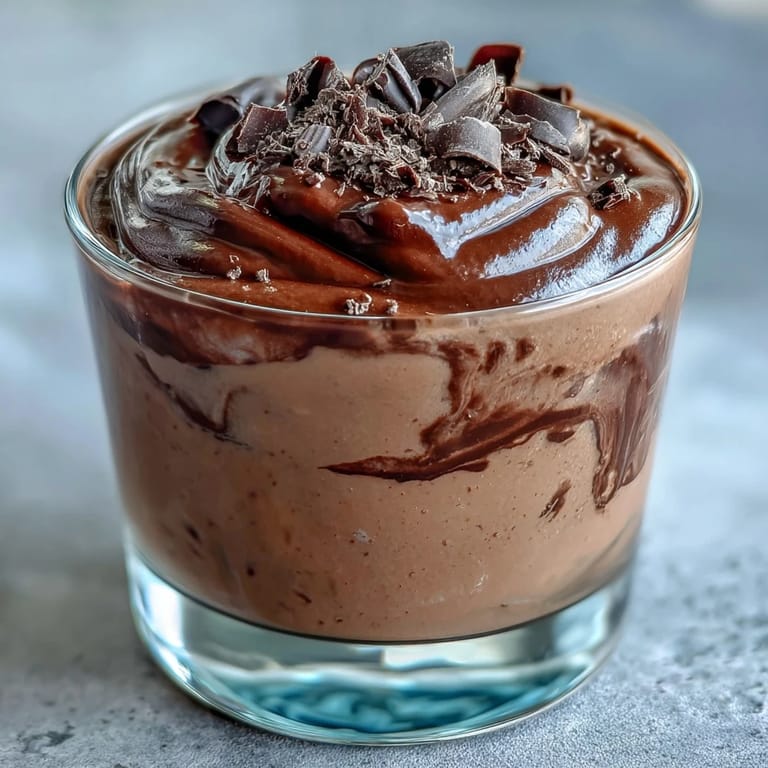
Pin One night, I brought out this mousse at a tiny dinner party, expecting polite nibbles, but instead, everyone wanted seconds. The conversation shifted from weekend plans to impromptu flavor ideas—someone suggested adding espresso or orange zest next time. It was the first time a dessert I'd improvised out of practicality became the centerpiece of laughter and a new set of inside jokes. It reminded me there's a kind of quiet magic in sharing food that's both comforting and a little unexpected. Now, requests for this mousse have become a happy tradition whenever friends gather at my place.
Getting the Silkiest Texture Every Time
I've learned that the best mousse is all about patience and the right equipment. Using a high-powered blender instead of a food processor works wonders for breaking down any curds in the cottage cheese. If your blender has a tamper, use it to keep everything moving—stopping to scrape down the sides a couple of times is worth it. I've tried rushing this, but it always pays to let the blender run longer than you think. Aim for a cloud-like smoothness, and you'll be rewarded with a mousse that's almost dangerously easy to eat.
Sweetening Secrets
The right balance of sweet can depend on your chocolate and your mood, so I always taste right before serving. If I’m using a particularly bitter dark cocoa, a bit of extra maple syrup mellows the flavor without overpowering the chocolate. Swapping in a dash of agave or date syrup also changes things up—great for experimenting. I’ve noticed kids like it a touch sweeter, while grown-ups often ask me to dial back the sugar. Flexibility is the secret ingredient here.
Make-Ahead and Storing Tips
This mousse is a friend to busy schedules—it keeps beautifully in the fridge for a couple of days. I’ve even packed it into little jars for meal prep, and the texture stays just as luscious. For gatherings, making it ahead frees up mental space, and it always tastes even better after chilling overnight.
- If you forget to chill, five minutes in the freezer is a quick fix.
- Keep toppings separate until serving—they lose their charm if added too early.
- When in doubt, make a double batch—leftovers disappear fast.
 Pin
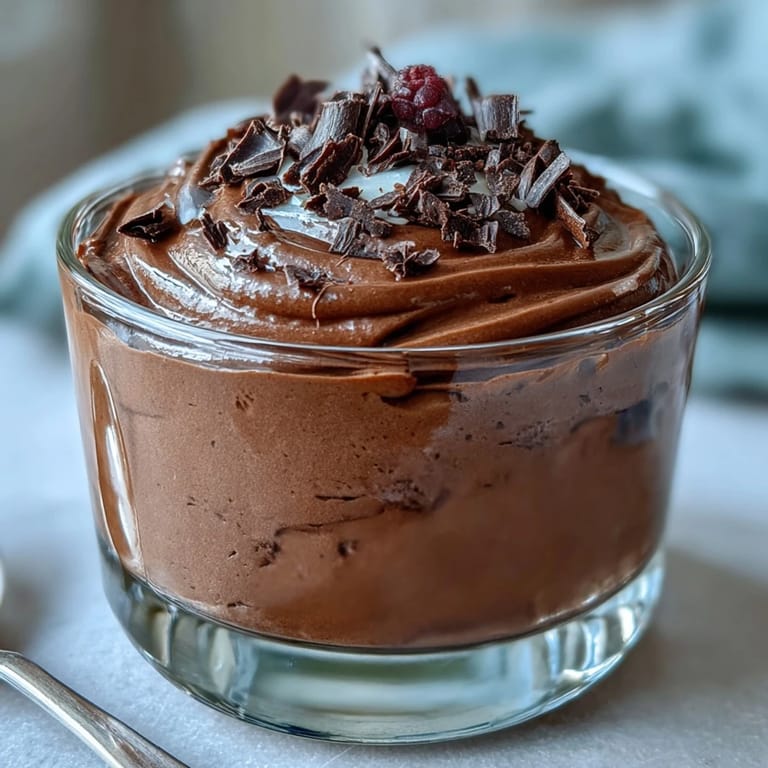
Pin Here's to chocolate cravings met with ease and a little bit of kitchen alchemy—I'd love to hear what twists you add to make it your own.
Recipe Q&A
- → Can I use low-fat cottage cheese?
Yes. Low-fat cottage cheese works and reduces overall richness. For a creamier mouthfeel, use full-fat cottage cheese or add a touch more melted chocolate to improve body.
- → How do I get an ultra-smooth texture?
Use a high-speed blender or food processor and blend 1–2 minutes, scraping down the sides. If needed, press the final mixture through a fine mesh strainer for extra silkiness.
- → What chocolate works best?
Unsweetened cocoa provides intense chocolate flavor while melted dark chocolate adds richness and body. Choose a quality dark chocolate (60–70%) for balanced sweetness and depth.
- → How can I make this dairy-free?
Swap in a plant-based cottage cheese and use plant-based milk. Ensure the melted chocolate is dairy-free. Texture may vary; thinning with a splash of plant milk helps the blender process.
- → How long will it keep?
Store covered in the refrigerator for up to 48 hours. Chilling helps it firm; stir gently before serving if it separates slightly.
- → What are good serving ideas and toppings?
Top with fresh berries, shaved dark chocolate, a dollop of whipped cream or chopped toasted nuts for contrast. Serve chilled in glasses or small bowls for an elegant presentation.