 Pin
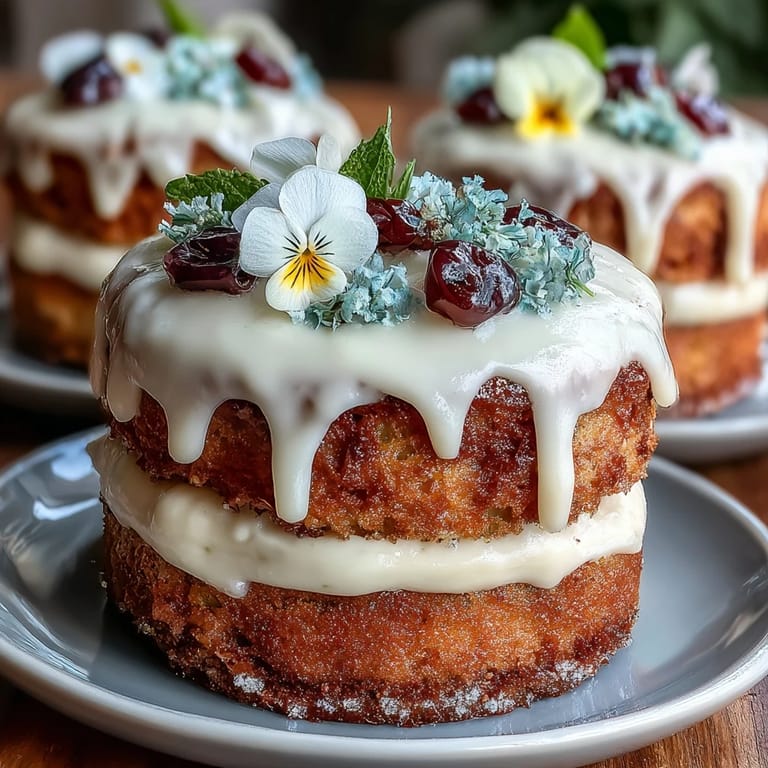
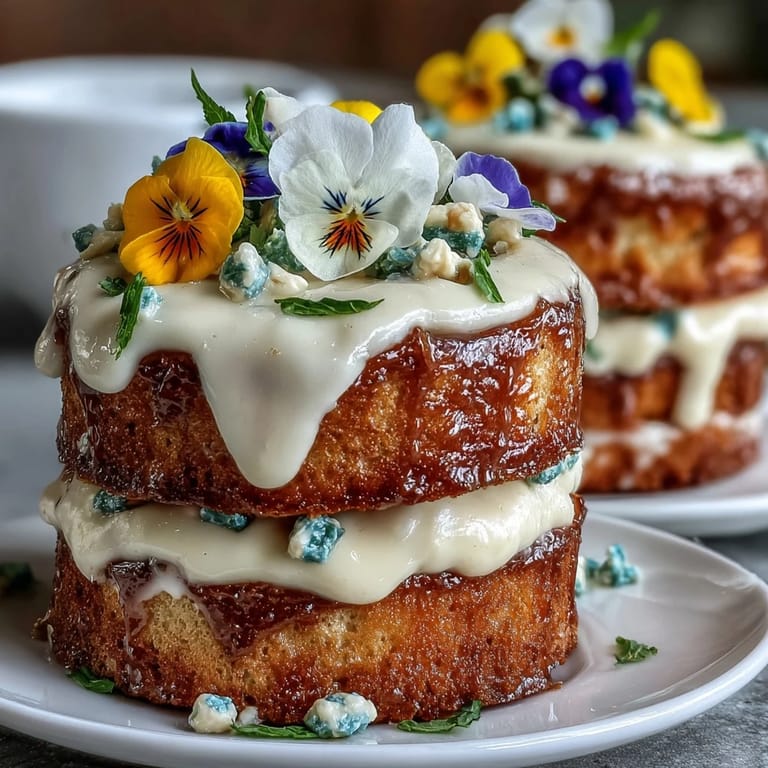
Pin My cousin texted me a photo of her daughter's seventh birthday party invitation—it had tiny watercolor flowers scattered across cream cardstock. Something about it made me want to bake her something equally delicate, so I started experimenting with these mini layer cakes, layering vanilla and lemon sponge with pastel buttercream. The first batch came out slightly lopsided, but when I crowned them with real edible violas and pansies, they looked like something from a spring garden. Now every time someone mentions a birthday, I think of these little cakes and how a simple decoration can turn baking into art.
I made these for a friend's backyard garden party last April, and I'll never forget watching her face when she saw the table—six little cakes lined up with their flower crowns catching the afternoon light. Her grandmother asked for the recipe right there on the patio, flour still under my fingernails, and we ended up sitting on the garden bench talking about the edible flowers her own mother used to grow. That's when baking stopped feeling like a task and started feeling like a conversation.
Ingredients
- All-purpose flour (1 1/4 cups): The foundation of your tender crumb—don't sift unless you're feeling precise, but do measure by spooning and leveling so you don't accidentally pack it down.
- Baking powder (1 tsp): Your gentle lift; this isn't a heavy cake, so fresh baking powder matters more than you'd think.
- Salt (1/4 tsp): A whisper of salt amplifies the vanilla and lemon without making anyone wonder why the cake tastes slightly briny.
- Unsalted butter (1/2 cup for cake, 3/4 cup for buttercream): Room temperature is non-negotiable—cold butter won't cream properly and you'll lose that airy texture.
- Granulated sugar (3/4 cup): This dissolves into the butter and creates the light, fluffy base that makes the cake feel almost cloud-like.
- Eggs (2 large, room temperature): Temperature matters because cold eggs won't emulsify smoothly into the butter mixture, creating a grainy batter.
- Pure vanilla extract (1 tsp for cake, 1 tsp for buttercream): Real vanilla deepens the flavor in a way imitation can't touch—worth the few extra cents.
- Lemon zest (1/2 tsp): Fresh zest brings brightness; pre-zested jars taste flat and dusty by comparison.
- Whole milk (1/2 cup, room temperature): It adds moisture and tenderizes without making the cake dense or heavy.
- Powdered sugar (2 cups, sifted): Sift it before measuring or you'll end up with buttercream that feels grainy between your teeth.
- Edible flowers (1 cup): Source these from specialty food suppliers or farmers' markets where you know they're pesticide-free—store-bought ornamentals are sprayed with chemicals.
Tired of Takeout? 🥡
Get 10 meals you can make faster than delivery arrives. Seriously.
One email. No spam. Unsubscribe anytime.
Instructions
- Prepare your workspace:
- Preheat your oven to 350°F and line a 9x13 rimmed baking sheet with parchment paper, leaving a little overhang so you can lift the cooled cake out easily. A light grease under the parchment keeps everything from sticking.
- Combine dry ingredients:
- Whisk flour, baking powder, and salt together in a medium bowl, breaking up any lumps in the flour as you go. This distributes the leavening evenly so your cake rises uniformly.
- Cream butter and sugar:
- In a large bowl, beat softened butter and sugar together until the mixture looks pale, fluffy, and almost mousse-like—about three minutes on medium speed. You'll see the color shift from butter-yellow to pale cream, and the texture becomes almost cloud-like.
- Incorporate eggs one at a time:
- Add each egg individually, beating well after each addition until fully incorporated before adding the next. This prevents a curdled-looking batter and helps trap air for a tender crumb.
- Flavor the batter:
- Stir in vanilla extract and lemon zest, letting the brightness of the zest perfume the whole mixture. You'll smell it shift from plain vanilla to something more garden-fresh.
- Layer in dry and wet ingredients alternately:
- Add half the flour mixture and stir gently, then add the milk, then the remaining flour, mixing after each addition just until combined. Overmixing develops gluten and makes the cake tough, so stop as soon as you don't see streaks of flour.
- Spread and bake:
- Pour the batter into your prepared pan and smooth it into an even layer using an offset spatula. Bake for 18 to 22 minutes until a toothpick inserted in the center comes out clean and the edges pull slightly from the pan.
- Cool completely:
- Let the cake cool in the pan for about 10 minutes, then transfer it to a wire rack to cool completely—this takes about 30 minutes and is crucial so the cake doesn't crumble when you cut it.
- Cut out your rounds:
- Using a 2.5 to 3 inch round cutter, stamp out circles from the cooled cake—you'll get 12 rounds, enough for 6 two-layer mini cakes. Save the scraps for nibbling or crushing into cake pops.
- Make the buttercream:
- Beat softened butter until creamy and smooth, then gradually add sifted powdered sugar a little at a time, beating well after each addition. Once it comes together, add vanilla, salt, and milk one tablespoon at a time until you reach a spreadable consistency that holds peaks but isn't stiff.
- Tint if desired:
- Divide the buttercream into small bowls and add a drop or two of pastel food coloring to each, stirring until you have soft, pretty shades that feel springtime.
- Assemble the mini cakes:
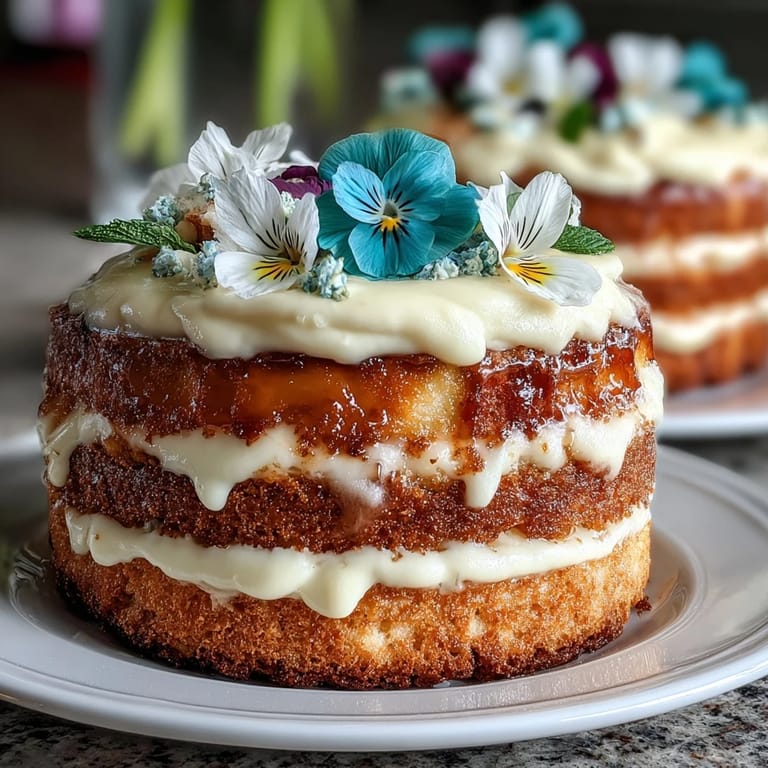
- On a serving plate, place one cake round, spread it with a thin layer of buttercream, then top with a second round and another thin layer of buttercream. Pipe or spread a generous dollop of buttercream on top of each assembled cake.
- Decorate with flowers:
- Arrange your edible flowers artfully on top of each mini cake, pressing them gently into the buttercream so they stay put. Step back and look at what you've made—it's almost too pretty to eat.
- Chill before serving:
- Pop the finished cakes into the refrigerator for at least 15 minutes so the buttercream firms up and the flavors meld slightly.
 Pin
Pin I realized while decorating these cakes that the edible flowers were the reason people slowed down to really look at dessert instead of just shoving it in their mouths. There's something about seeing a real flower on your plate that makes you pause and appreciate the moment, and that's when I understood these little cakes were never just about sugar and butter.
Why Lemon and Vanilla Work Together
Vanilla provides a soft, comforting base note that keeps the cake from tasting too tart, while lemon zest adds brightness and prevents the whole thing from feeling heavy or one-dimensional. I've tried versions with just vanilla or extra lemon, and they fall flat—the combination is what makes the flavor feel sophisticated instead of simple. The lemon zest (not juice, which would make the crumb dense) is the secret weapon that makes people say this tastes like spring.
Sourcing Edible Flowers That Are Actually Safe
The first time I used grocery store flowers, I didn't realize they'd been sprayed with fungicides until my friend's daughter broke out in a rash—that's when I learned to ask questions about where flowers come from. Farmers' markets, specialty food suppliers, and dedicated edible flower growers are your safest bet, and they'll usually tell you exactly which pesticides (if any) they use. Some flowers like violas, pansies, nasturtiums, and borage are commonly available, food-safe, and genuinely beautiful on a cake.
The Cake Scraps Situation
When you cut 12 rounds from a rectangular cake, you'll have trimmed edges and uneven pieces left over, and I used to feel wasteful tossing them. Now I crumble them, mix with buttercream, roll into balls, chill, and dip in melted chocolate—instant cake pops that feel like a bonus treat rather than leftovers. You can also freeze scraps in an airtight container for up to three months and use them later for making chocolate cake or crumble toppings.
- Save every scrap—the edges and corners are delicious and shouldn't go to waste.
- Crumble scraps finely and mix with buttercream at a 1:1 ratio for perfectly textured cake pop filling.
- Freeze leftover buttercream in ice cube trays so you always have tiny portions ready for decorating or tasting.
 Pin
Pin These mini cakes taught me that sometimes the most elegant things are the simplest—just good butter, fresh lemon, and real flowers. They're the kind of dessert that makes people feel celebrated without being fussy.
Recipe Q&A
- → What flowers are safe for decorating?
Choose edible, pesticide-free flowers such as violas, pansies, and nasturtiums from reputable sources to ensure safety and freshness.
- → Can I tint the buttercream with colors?
Yes, pastel food coloring can be added to the buttercream for a festive and elegant appearance.
- → How do I ensure the cakes bake evenly?
Use a lined rimmed baking sheet and monitor baking time closely, checking doneness with a toothpick inserted in the center.
- → What is the best way to cut the mini layers?
Use a 2.5 to 3 inch round cookie cutter for uniform, neat circles. Re-roll scraps to maximize batter use.
- → Can leftover scraps be reused?
Yes, leftover cake scraps can be shaped into cake pops or other bite-sized treats, minimizing waste.
- → Should I chill the cakes after assembly?
Chilling the mini cakes for 15 minutes before serving helps the buttercream set and improves texture.