 Pin
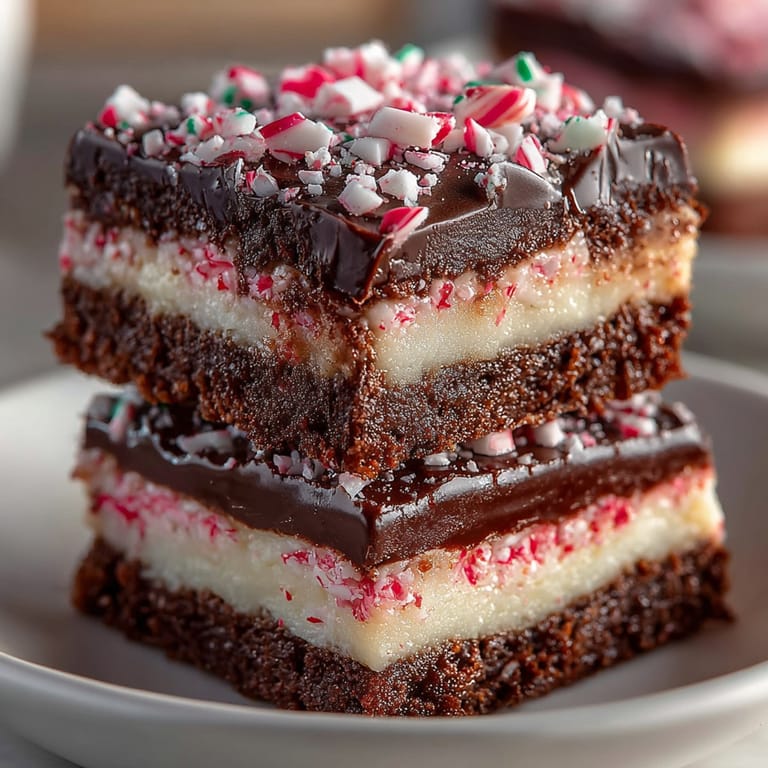
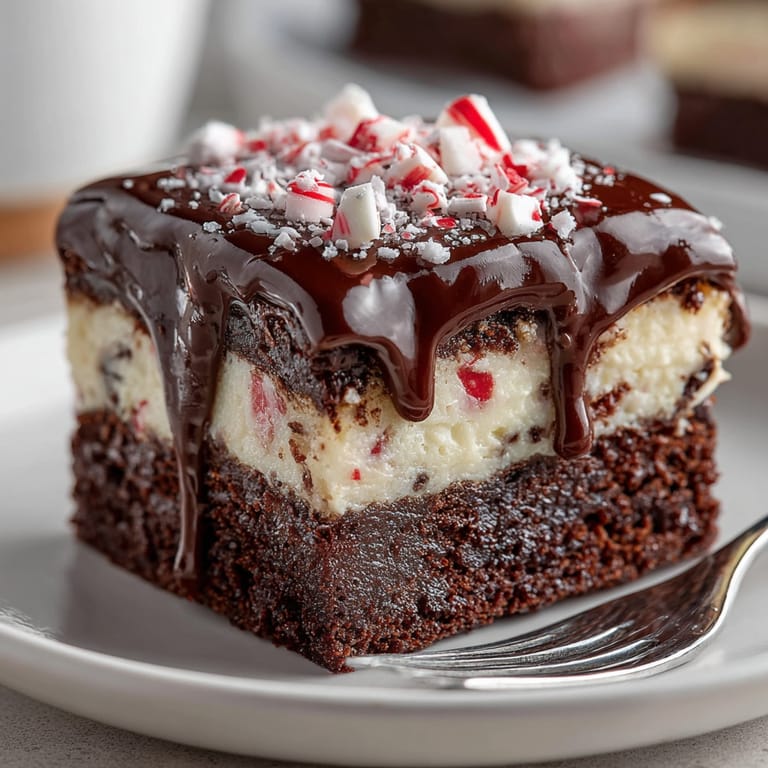
Pin This triple-layer dessert combines the best of brownies, cake, and peppermint bark into one spectacular treat. The fudgy brownie base provides a rich foundation, while the cake layer adds lightness, and the festive peppermint bark topping brings holiday cheer with every bite. I created this recipe for my daughter's winter birthday party, and it's become our signature holiday dessert ever since.
I first made these bars when my daughter requested "something chocolate and minty" for her December birthday. The combination was such a hit that neighbors now expect a batch every holiday season as their gift.
Ingredients
- Brownie Layer: Unsalted butter adds richness and helps create that fudgy texture we all love
- Granulated sugar: provides the perfect sweetness without being cloying
- Large eggs: bind everything together while adding moisture
- Vanilla extract: enhances the chocolate flavor look for pure extract
- Unsweetened cocoa powder: delivers intense chocolate flavor use Dutch processed for deeper color
- All purpose flour: gives structure without making brownies cakey
- Salt: balances the sweetness flaked sea salt works beautifully
- Baking powder: provides just enough lift for the perfect texture
- Cake Layer: All purpose flour forms the foundation of our cake layer
- Granulated sugar: sweetens without overwhelming
- Unsalted butter: creates tenderness room temperature is crucial
- Milk: adds moisture whole milk provides the best flavor
- Egg: binds and enriches the cake
- Vanilla extract: adds warmth and depth
- Baking powder: ensures proper rise
- Salt: enhances all flavors
- Peppermint Bark Topping: White chocolate use high quality bars not chips for smoother melting
- Dark chocolate: provides beautiful contrast and balances sweetness
- Peppermint extract: delivers that signature holiday flavor use pure not artificial
- Crushed peppermint candies: add festive color and delightful crunch
Tired of Takeout? 🥡
Get 10 meals you can make faster than delivery arrives. Seriously.
One email. No spam. Unsubscribe anytime.
Instructions
- Prepare Your Pan:
- Line your 8x8 baking pan with parchment paper, leaving overhang on at least two sides. This ensures easy removal after baking and clean cuts. Press the paper into corners and smooth against sides. A light spray of cooking oil under the parchment helps it stick to the pan.
- Create the Brownie Base:
- Melt butter completely in a microwave safe bowl using 30 second intervals. The butter should be warm but not hot enough to cook the eggs. Whisk in sugar until gritty but incorporated, then add eggs one at a time, beating vigorously after each. Add vanilla and stir until the mixture looks glossy. In a separate bowl, whisk together cocoa powder, flour, salt and baking powder, then fold into wet ingredients just until no dry streaks remain. Spread evenly in pan, using an offset spatula to create a level surface.
- Mix the Cake Layer:
- In a clean bowl, cream softened butter and sugar for a full 3 minutes until notably lighter in color and fluffy in texture. This incorporates air for a tender cake. Add egg and vanilla, beating until fully incorporated. Combine dry ingredients in a separate bowl. Add flour mixture to butter mixture in three additions, alternating with milk, beginning and ending with flour. Mix just until combined after each addition. Gently spread this batter over the brownie layer, taking care not to disturb the brownie beneath.
- Bake to Perfection:
- Place pan in middle rack of preheated oven. Bake for 30 35 minutes, rotating pan halfway through for even baking. Test doneness with a toothpick inserted in center. It should come out with a few moist crumbs but no wet batter. Allow to cool completely in pan on wire rack before adding toppings. This cooling step is essential for clean layers.
- Create the Chocolate Base:
- Once bars are completely cool, melt dark chocolate in 30 second microwave intervals, stirring between each until smooth. Pour over cooled cake layer and spread into a thin, even layer using an offset spatula. Place in refrigerator for exactly 10 minutes. The chocolate should be set but not completely hard before adding the white chocolate layer.
- Finish with Peppermint Bark:
- Melt white chocolate using the same careful microwave method. Once smooth, stir in peppermint extract. Working quickly, pour over the slightly set dark chocolate layer and spread evenly. Immediately sprinkle with crushed peppermint candies, pressing slightly to adhere. Refrigerate until completely set, about 20 minutes.
- Slice and Serve:
- Remove the entire dessert from pan using parchment overhang. Place on cutting board and use a large, sharp knife to cut into 16 squares. For cleanest cuts, warm knife under hot water, dry completely, and wipe between cuts.
 Pin
Pin The crushed peppermint candies are truly what make this dessert special for me. I discovered this by accident when my daughter crushed too many candy canes for another project. The way they add both visual appeal and textural contrast against the smooth chocolate makes these bars completely irresistible. My family now has a tradition of crushing candy canes together while singing holiday songs before making these bars.
Make-Ahead Magic
These bars actually improve with a day of rest in the refrigerator, as the flavors meld and the textures settle. You can make them up to three days ahead of serving, making them perfect for busy holiday entertaining. Store in the refrigerator but allow them to come to room temperature for about 20 minutes before serving for the best flavor and texture experience.
Troubleshooting Tips
If your white chocolate seizes when adding peppermint extract, you can rescue it by immediately adding 1 teaspoon of neutral vegetable oil and stirring vigorously. Always ensure your extract is at room temperature before adding it to melted chocolate. For perfect layers, patience is key. Allow complete cooling between steps, and use an offset spatula for spreading each component.
Serving Suggestions
These bars shine on their own, but for an extra special dessert presentation, serve slightly warmed with a small scoop of vanilla ice cream and a drizzle of hot fudge sauce. For holiday gatherings, arrange on a tiered stand alternating with other holiday cookies for a stunning display. Consider packaging individual bars in clear cellophane bags tied with festive ribbon for homemade gifts.
Seasonal Adaptations
Summer version swap peppermint for orange extract and top with candied orange peel
Fall adaptation use cinnamon in the cake layer and top with toffee bits
Spring celebration add 1 tablespoon matcha to the cake layer and top with white chocolate and dried strawberries
Shortcuts Worth Taking
While homemade layers are delicious, you can absolutely use quality boxed mixes when time is short. Prepare half a box of brownie mix for the base and half a box of white cake mix for the middle layer. The peppermint bark topping is worth making from scratch, however, as it delivers that signature holiday flavor that makes these bars special.
 Pin
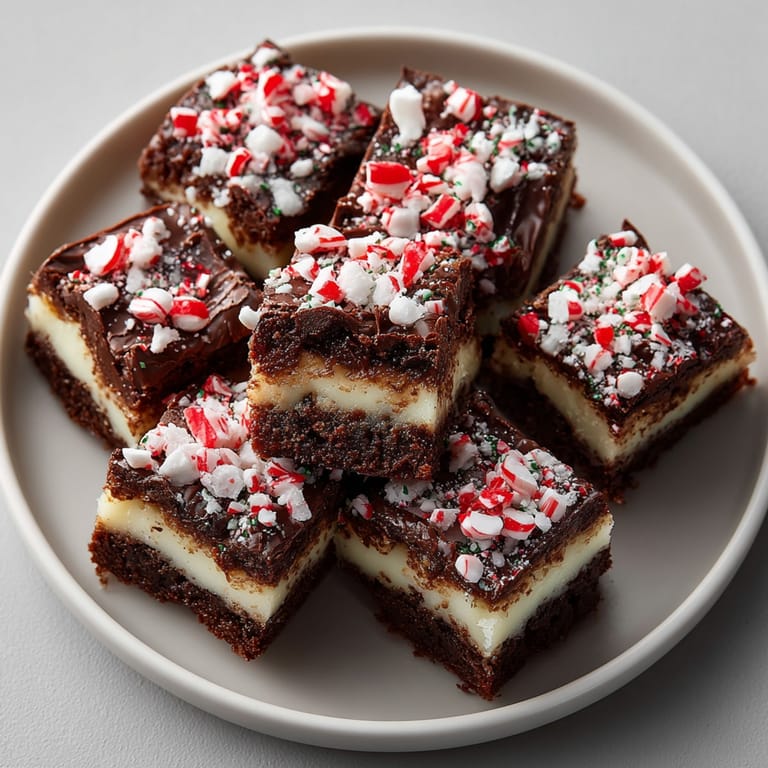
Pin The beauty of these Silly Cake Peppermint Bark Brownie Bars is how they bring together multiple dessert experiences in one delightful treat. I've watched guests' eyes light up at first bite as they discover each distinct layer. Whether you're baking for a holiday PnP.PN.P.gath PnPering, packaging as gifts, or simply treating your family to something special, these bars deliver both visual impact and incredible flavor in every bite.
Recipe Q&A
- → How do I keep the peppermint bark layers from separating?
Let each chocolate layer set fully before adding the next, and ensure bars are completely cool before applying toppings.
- → Can I use milk chocolate instead of white or dark chocolate?
Yes, milk chocolate can substitute for either dark or white chocolate according to your flavor preference.
- → What is the best way to cut clean squares?
Chill the bars until firm, then use a sharp knife wiped clean between cuts for neat portions.
- → Can I make these in advance?
Absolutely. Store the bars in an airtight container at room temperature for up to three days for maximum freshness.
- → Is there a shortcut for the brownie or cake layers?
Boxed brownie and cake mixes can be used, prepared at half the package instructions and layered as directed.
- → How do I ensure the cake layer bakes evenly over the brownie?
Gently spread the cake batter atop the brownie layer to avoid mixing, and bake until a toothpick comes out clean.